Saturday, March 5, 2016

Sketchbook bundle design

I'm starting to catch up on having all of the inspiration boards complete for my current stash of gorgeous 100% cotton designer fabrics.  4 down and 1 more to go!

The sketchbook bundle's inspiration boards are now up on the website and the pinterest board is public so please go ahead and check it out.  Here is the link:  Sketchbook Bundle

This is designed to be a modern little girl's room with lots of fun pops of color while maintaining a neutral undertone.  Feel free to mix and match your favorite parts to create your own custom look.

I have additional furniture options pinned as well and will continuously add items as I come across them too.


Have fun designing your nursery and I hope these help with pulling your little one's room together!

-Carrie

Tuesday, March 1, 2016

Exciting Announcements!!

Today has been an EPIC day!

First I got to announce publicly that I'm going to be a member of the Silhouette America creative design team. That alone is a major dream come true and I still can't really believe is happening.

I have been a devoted fan of Silhouette since 2012 when my sister-in-law showed me this amazing device that I instantly had to have in my own hands.  So a big THANK YOU goes out to Michelle for that introduction!!  I used it for lots of personal craft projects over the years but it wasn't until this past year that I've really made it something I used on a daily basis.

I was working part time from home for a company I'd been with for 5 years and raising my son when suddenly I got laid off.  I just knew that now was the time to try my hand at being my own boss and starting my handmade business.  It's coming up on the year mark since I started Project 378 and honestly I was only going to give it a few more months of my time before I gave up because nothing seemed to be happening.

Then I saw the open call for the design team for Silhouette and knew I had to give it a try. I figured the worst that happens is I never hear back and well....I've already been there so I can take it! Imagine my joy when I was asked to submit for the next round of submissions.  I started working on it that same night and obsessed over it every spare minute I could find.  Then I waited...and waited...and honestly thought that I didn't make the cut.  Cut to few days later....I did the world's biggest happy dance with my 2 year old son when I opened the email telling me I was selected for this year's team.  He also now knows the word blogger, how many 2 year old's have said that word?  "Mama be blogger?!?"  I have it on film and I'll be sharing that adorable clip on my facebook page tomorrow.

Today is when we were allowed to shout from the roof tops publicly that we're part of the team.  I can't thank Silhouette America enough for this amazing opportunity and I'm really excited to start creating some amazing tutorials using their products and tools.


Now on to the other AWESOME news I found out today.  I'm going to be a vendor at the Mainstreet Market hosted by Urban Farmgirl in Rockford, IL this May 21st and Sept 10th!!!!

I went to the market last spring and instantly fell in love.  The setting is in this adorable mini historic village and it was filled with all sorts of vendors that I wanted to buy everything from.  I knew I wanted to be a part of that show right then and there and it was a big catalyst on why I started Project 378.  I missed last fall's show since one of my best friend's got married that same day.

I stalked Urban Farmgirl's website daily waiting for this year's show information and vendor application.  Finally that day arrived and I quickly applied to be a part of the show.  Then the waiting game began again and I was beginning to question whether or not I had made the cut.  Another happy dance was done (not easy for a 9 month pregnant lady by the way) when I saw the email tonight saying I was accepted to this year's show.


I am going to be one super busy mama this year, especially since I'm now waiting for my new son to make his arrival into the world any day now, but I wouldn't have it any other way.  It's not work when it's something you enjoy with your entire soul.  I feel like the luckiest girl in the world right now and can't wait to see what else develops.


Wednesday, February 17, 2016

The finished "Oh Bear Bundle" nursery

As I came up with the idea of creating the baby room bundle product my husband and I found out the exciting news that we were expecting Baby #2!  I knew right away that the new nursery would be based on one of my kits.

The minute we found out it was another son I chose the "Oh Bear Bundle" for his room since I'm in love with that look.

We already had the dresser and the ottoman for the room, but everything else was going to be a blank slate.  I went with the crib from the middle priced board and a similar style rocking chair.  I ended up not getting a recliner since I didn't think I would personally use it that often.

Here is my initial design that I created as my concept before making any purchases:


After that I went to one of my favorite websites for furniture and accessories for my home, www.wayfair.com (they've got just what you need!) and purchased the crib and rocking chair.  They arrived quickly and in great shape.  My only complaint about the rocking chair is it needs a heavier base because if you get out quickly it bounces back on you.

I decided to make all of the artwork for the room to save money and also because I just enjoy making projects like that.  I have the tutorial for the woodland creatures as my last blog if you want the details on how to make your own set.  The sign above the dresser was just a wood blank I bought at Michael's and I stenciled the words onto with black paint.  I made the stencil with my Silhouette cameo and contact paper and lots and lots of mod podge to seal the edges first.  Finally the bunting is something I'm going to sell in my shop so you can purchase one from me for a great price, sorry no tutorial on that!  I need some secrets to keep to myself. :)

I also made the pillow for the chair and that's a tutorial on my blog as well.  I will be adding similar pillows to my online shop too so if you don't sew but want the look I'll have them for you for an affordable price.

The ottoman is something I had found on clearance at Target when my first son was born but we didn't end up using it since his rocking chair came with one.  The only change I made to that was to paint the honey colored wood legs with my charcoal chalk paint I already had laying around the house.

The curtains were a Homegoods find that I bought originally for my first son's room and then realized that I needed another set since his new room has 2 windows (darn pregnancy brain!).  It worked out fine in the end because they looked great with this room.  The curtain rod is from overstock.com which is another favorite online home shopping website of mine.

Both light fixtures were Target purchases from the room essentials collection.  Great budget friendly items!

Finally the wall stencil is from Stencilit on Etsy.  This was my first attempt at stenciling and it turned out to be pretty easy and I absolutely LOVE the results.  If you want to know my paint colors you'll have to buy the kit.  I make sure to include at least 5 or 6 options so you can decide what you like best for your home and lighting conditions.

Here is the final look:


Here are some close up shots of the handmade crib sheets that I sell with the Oh Bear bundle.  They are made of 100% premium cotton and are sized to fit that crib mattress nice and snug.  

I personally believe keeping the crib bedding as simple as possible is what is safest.  Once he starts being able to roll around I'll add a mesh breathable bumper to the crib to keep those tiny arms and legs safe from the rails.


I have the links to everything in my Oh Bear bundle board on pinterest so feel free to look there for the details on where to buy everything.  Please make sure to follow me too since I'm always adding more ideas.

-Carrie


Tuesday, February 16, 2016

Woodland animal artwork tutorial for Oh Bear Bundle kit

I just wanted to share with you how I created some adorable artwork for my son's nursery that I designed based on my Oh Bear bundle kit.

The best part is it only cost me about $50 total to make 8 pieces.  Yes, that math adds up to $6.25 per item for a 9"x 12" finished product.

I found this great free printable design on pinterest:
Artwork link

Next I bought these wood slice boards from save-on-crafts.com:
wood slice link

It's cheaper to buy 4 of the 24" long boards than 8 of the 12" length.  If you have a decent saw I would recommend doing that too and yourself some $$.  I just asked my husband to cut them for me when he had his saw out for another project so it took him 10 minutes to do, without complaining I might add!

Since I have my silhouette cameo machine I brought the artwork into that program and resized them to fit the boards and then used the print and cut feature to cut them out for me.  If you don't have a cameo or similar machine you can easily just print them on your printer and hand cut the shapes out too.  If you have a silhouette and don't know how to use print and cut I highly recommend going to school at Silhouette School.  She covers the topic in great detail if you need any help.

I found the easiest way to attach the paper cut outs to the wood slices was my handy dandy spray glue.  I wanted a really strong hold so I sprayed a spot on the wood and also the back of the paper and let it dry for about 10 seconds before attaching it.

Finally all that was left was to add some saw tooth hangers on the back that I picked up at my local hobby store and attach them to the back of the wood slices.

There you have it!  Adorable artwork for a feature wall for the low, low price of $50.00 total.


PS.  That great design on the wall is a stencil I bought from Stencilit on Etsy.  Here's the link:
Stencil Link

I have all of these links in my Oh Bear bundle board along with lots of other ideas on how to design a beautiful nursery on a budget. Follow me on pinterest!

Monday, January 25, 2016

Custom pillow tutorial for the nursery

As promised I'm adding my very first tutorial blog post!  
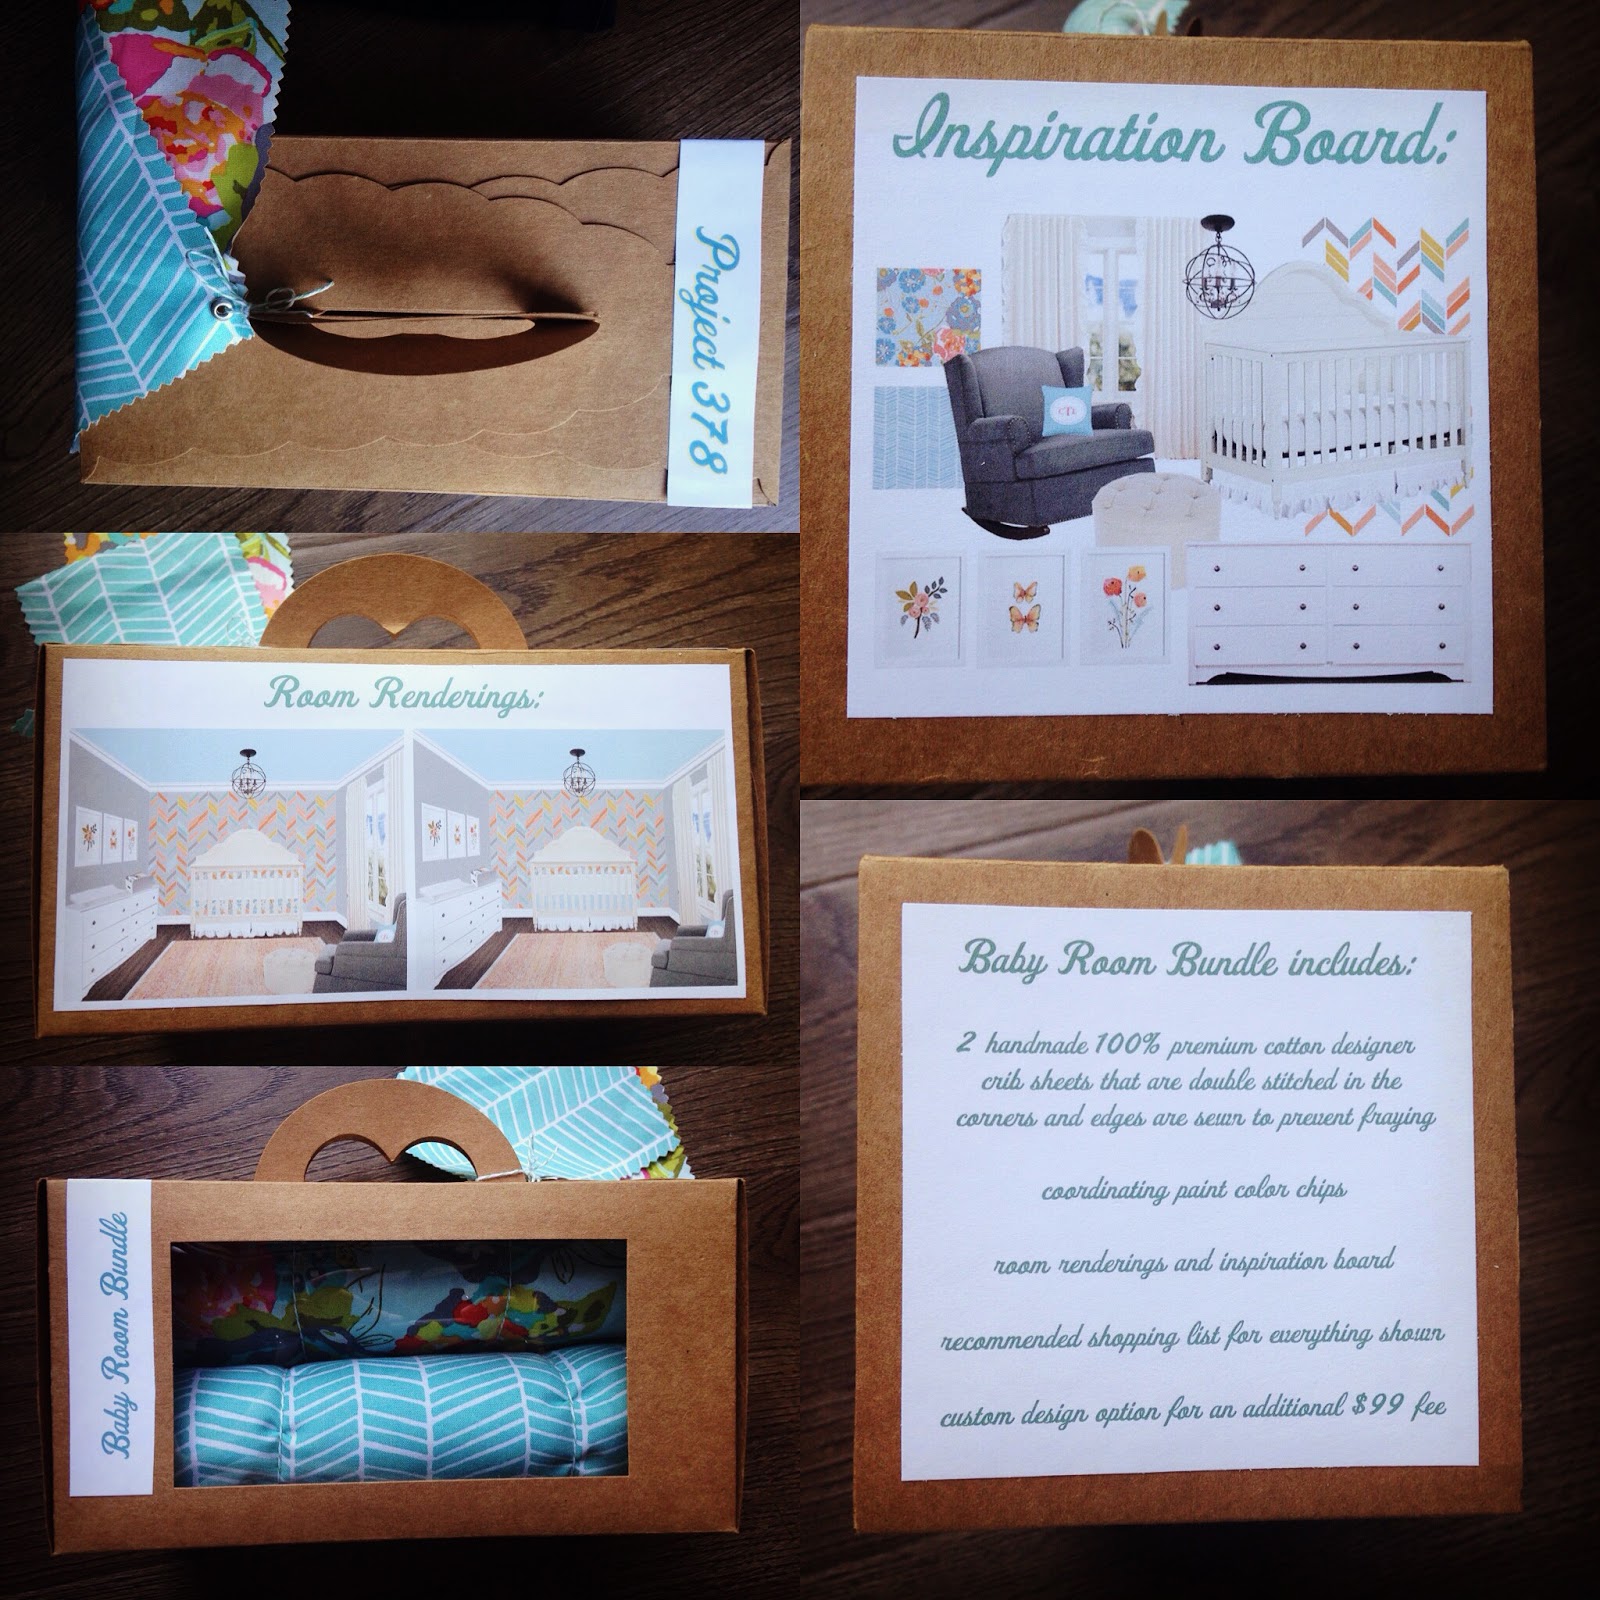
I found some really great fabric that coordinated nicely with the sheets in my "Oh Bear" baby bundle that I'm using for our new son's nursery. I decided I wanted a really fun one of a kind pillow for the rocking chair in his room so I'm adding a design with heat transfer vinyl using my favorite machine, my silhouette cameo.
Side note:  I absolutely LOVE that this is designed and printed by another small online business.  You're not going to find this at your local big box craft store.
I bought 1 yard of material knowing that would be more than enough for a decorative throw pillow.
I happened to already have a 14" square pillow form already laying around the house so that's the size pillow I decided to go with.  Why spend money when you don't need to?  
I cut the material into a 15" w x 36" l rectangle, (15+15+6 extra inches for the overlap). You have to size up for seam allowance.  Since this is digitally printed I also had to cut away the extra material.
fabric cut
Then I folded the short side ends (15"w part), right side of the fabric down, about 3/8" up and ironed it down then folded it again and ironed it a second time to have a nice clean edge.  I know most people hate ironing, but it's essential when sewing to get professional looking results.  Next I took it over to my sewing machine and sewed both freshly ironed edges.
Then I folded the fabric with the right sides together and made sure that it created a nice 15" square. There should be an overlap of material where you can insert the pillow form. This is called an envelope style pillow cover if you want to be technical about it.  I made my "envelope" at the halfway point.  Take it back over to the sewing machine and stitch the two unfinished sides together.  (I apologize I forgot to take a picture of this step, I was in the zone!)
Once you're done sewing flip the fabric right side out.   You now have a pillow cover!
Before I cut the HTV (heat transfer vinyl) design I made sure the pillow fit nicely in it's new cover and that I was happy with the final result.  I also wanted to make sure I sized the design appropriately to the finished pillow.
(Front side of the finished pillow)
(Back side of the finished pillow)
Now I was comfortable finalizing my HTV design using my Silhouette software.  I sized it to be about 11.5" square and made sure to mirror it before sending it to my cameo. I also did several test cuts to make sure I had the perfect settings before I sent the full design to be cut.  There is nothing worse than discovering you've ruined a big piece of HTV because you skipped that step.  Test cuts people, so worth the time to do first.
The machine worked it's magic and I weeded the excess vinyl away just leaving the final design.
I moved over to my heat press which I already had preheated to the recommended settings from the HTV manufacturer.  I pressed the pillow cover first to make sure I got out any wrinkles.  Then I laid my design onto the fabric and made sure I had it perfectly centered.  This always takes me about 5 minutes to do because I use my ruler to triple check it. 
If you don't have a heat press you can use your home iron to press the design on.  It just takes longer since you'll have to move it around to get the full design pressed down. Make sure to use a lot of pressure too.
The time has come to finally press the HTV onto the pillow cover!  This is always a scary moment for me since there is no turning back now.  Here goes nothing......
The final result!
I'm thrilled with how this project turned out.  I did a lot of DIY projects for this room and I'll make sure to post those projects in the next few weeks.
I hope you enjoyed this tutorial and good luck with your custom pillow project!
-Carrie

Wednesday, January 20, 2016

New Year and new goals!

This year my new year's resolution is to really focus on my blog and website and hopefully grow my small home based business into something great.
I've been researching ideas on how to get my business growing and absorbing the knowledge of those who've gone before me like a sponge.
I'm currently working on creating a line of exciting new baby products designed to make creating the nursery of your dreams as easy as 1, 2, 3!
I also plan to start doing weekly blog posts of DIY tutorials using my arsenal of toys in my craft room.  Those toys would be my sewing machine, Silhouette Cameo, heat press, and my newest addition the Minc by Heidi Swapp.  Don't fear if you don't have these items though, most projects can still easily be created using a home iron and good old fashioned scissors if needed.  Silhouette offers their software for free and I highly recommend downloading it even if you don't have the machine.  www.silhouetteamerica.com    
So please keep checking back for updates and sign up for my email list.  I will never ever spam you!  Honestly, I wouldn't know how to do that if I tried.  

Tuesday, June 30, 2015

Baby Room Bundles!!

Introducing the world's first "Baby Room Bundle" product. What this includes is 2 custom made crib sheets in designer fabrics, an inspiration board of coordinating products, a room rendering showing the room visual, a shopping list of suggested products, and paint color suggestions along with actual paint chips.  All in a cute little box to take home and assemble.
I'm an interior designer and most importantly a mom!  I know first hand what a real nursery needs and what it doesn't.  I hate the baby bedding kits sold in stores because you'll never use that quilt and the fabric baby bumpers that look so adorable are dangerous.  Seriously parents, only EVER use breathable mesh bumpers. 
I decided to create my own kit to help new parents with what you actually need to complete your baby's new room without any unusable products.  What a crazy concept, I know!!
You will need multiple crib sheets so why not buy a kit of coordinated custom 100% cotton crib sheets that are handmade and unique.  The shopping list is just a suggestion for colors and ideas so you can find something similar in your budget range.  I also have multiple paint color chips included so you can decide which one you prefer.  Please buy a sample pot first to test it on your walls to make sure you love it in the various lighting throughout the day.
I'm also happy to create a custom design for you based on the 2 included crib sheets for a low $99 fee.