As promised I'm adding my very first tutorial blog post!
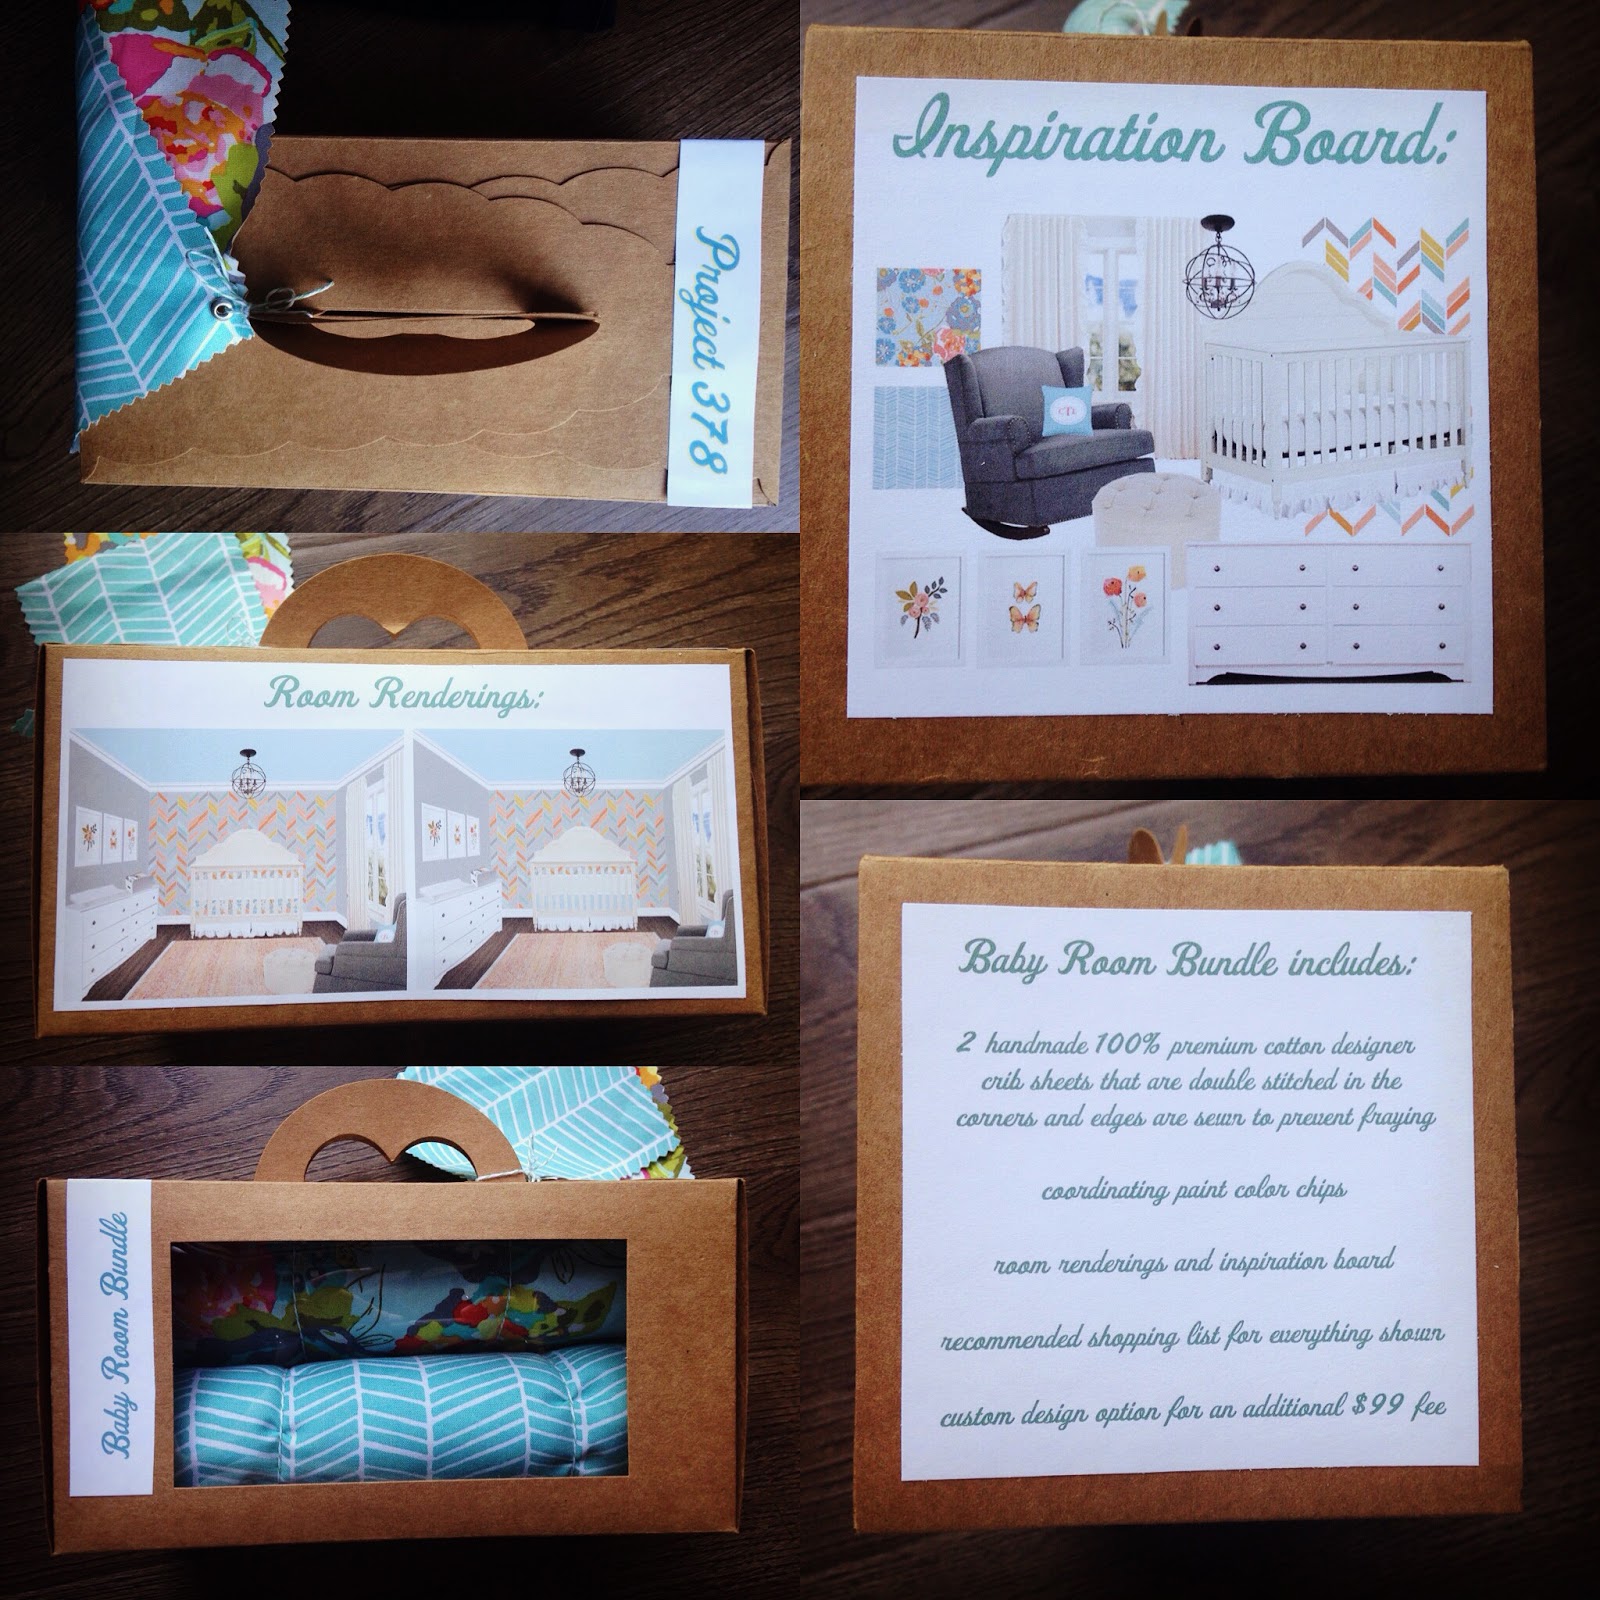
I found some really great fabric that coordinated nicely with the sheets in my "Oh Bear" baby bundle that I'm using for our new son's nursery. I decided I wanted a really fun one of a kind pillow for the rocking chair in his room so I'm adding a design with heat transfer vinyl using my favorite machine, my silhouette cameo.
Here is a link to the fabric I purchased: http://www.hawthornethreads.com/fabric/designer/hawthorne_threads/weathervane/weathervane_in_charcoal
Side note: I absolutely LOVE that this is designed and printed by another small online business. You're not going to find this at your local big box craft store.
I bought 1 yard of material knowing that would be more than enough for a decorative throw pillow.
I happened to already have a 14" square pillow form already laying around the house so that's the size pillow I decided to go with. Why spend money when you don't need to?
I cut the material into a 15" w x 36" l rectangle, (15+15+6 extra inches for the overlap). You have to size up for seam allowance. Since this is digitally printed I also had to cut away the extra material.

Then I folded the short side ends (15"w part), right side of the fabric down, about 3/8" up and ironed it down then folded it again and ironed it a second time to have a nice clean edge. I know most people hate ironing, but it's essential when sewing to get professional looking results. Next I took it over to my sewing machine and sewed both freshly ironed edges.

Then I folded the fabric with the right sides together and made sure that it created a nice 15" square. There should be an overlap of material where you can insert the pillow form. This is called an envelope style pillow cover if you want to be technical about it. I made my "envelope" at the halfway point. Take it back over to the sewing machine and stitch the two unfinished sides together. (I apologize I forgot to take a picture of this step, I was in the zone!)
Once you're done sewing flip the fabric right side out. You now have a pillow cover!

Before I cut the HTV (heat transfer vinyl) design I made sure the pillow fit nicely in it's new cover and that I was happy with the final result. I also wanted to make sure I sized the design appropriately to the finished pillow.

(Front side of the finished pillow)

(Back side of the finished pillow)
Now I was comfortable finalizing my HTV design using my Silhouette software. I sized it to be about 11.5" square and made sure to mirror it before sending it to my cameo. I also did several test cuts to make sure I had the perfect settings before I sent the full design to be cut. There is nothing worse than discovering you've ruined a big piece of HTV because you skipped that step. Test cuts people, so worth the time to do first.


The machine worked it's magic and I weeded the excess vinyl away just leaving the final design.
I moved over to my heat press which I already had preheated to the recommended settings from the HTV manufacturer. I pressed the pillow cover first to make sure I got out any wrinkles. Then I laid my design onto the fabric and made sure I had it perfectly centered. This always takes me about 5 minutes to do because I use my ruler to triple check it.
If you don't have a heat press you can use your home iron to press the design on. It just takes longer since you'll have to move it around to get the full design pressed down. Make sure to use a lot of pressure too.

The time has come to finally press the HTV onto the pillow cover! This is always a scary moment for me since there is no turning back now. Here goes nothing......
The final result!


I'm thrilled with how this project turned out. I did a lot of DIY projects for this room and I'll make sure to post those projects in the next few weeks.
I hope you enjoyed this tutorial and good luck with your custom pillow project!
-Carrie